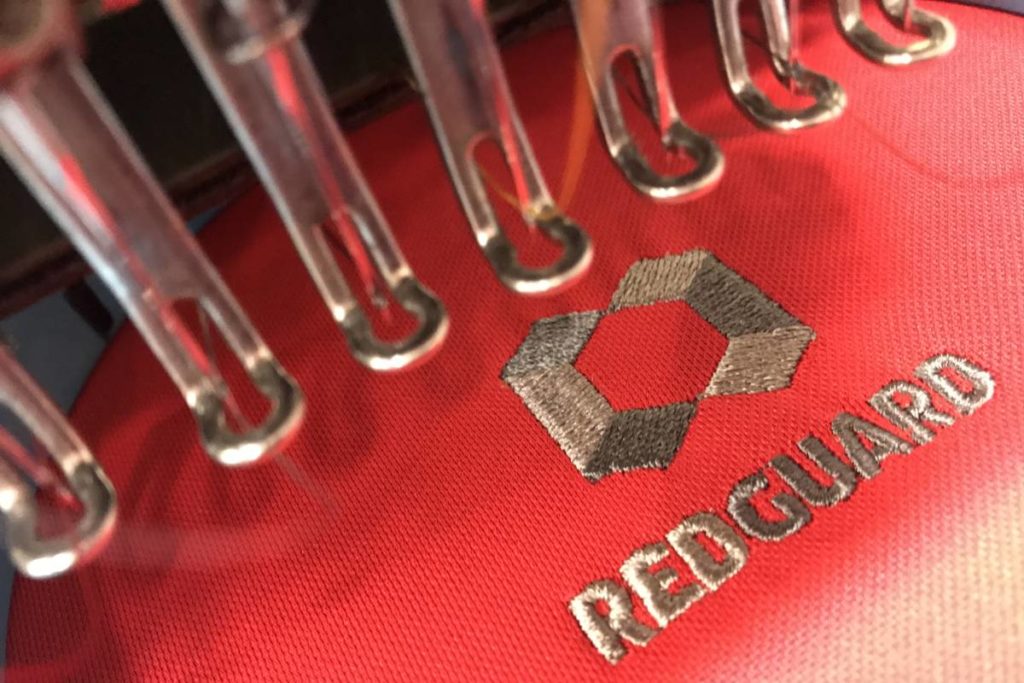
Here at Logo Depot, we’ve been proudly providing highly customized and quality embroidery services to the greater Wichita area (as well as across the nation) for decades. Because we are in the business of embroidery, we get asked tons of questions — what exactly is embroidery, how does embroidery work, and what makes embroidery good…or not.
Are you considering placing a custom embroidery order? Have you ordered custom embroidery before? If you have, you’ve probably heard (or will hear about it soon enough) the term ‘embroidery digitizing’. What exactly is ‘embroidery digitizing’?
In a nutshell, ‘embroidery digitizing’ means that your artwork, such as your company’s logo or any specific design you want to be embroidered on apparel, is converted into a file that can read and is able to be utilized by one of our embroidery machines (and is then translated into various types of stitches).
Sounds easy enough at first, right?
Hold your horses: embroidery digitizing is not just hitting a button. Before your artwork can be digitized, the following steps need to happen: understand the size of the finished design as well as the type of fabric that will be used, get your artwork ready to be digitized, determine exactly how your design will be put through the embroidery machine for best results, select various types of embroidery stitches for the types of fabric that will be used, and, finally, the entire process must be tested to ensure no adjustments are needed.
Embroidery Digitizing, Step One: Details Count
Small details — such as how large the size of the embroidered artwork will be and the kind of fabric chosen — aren’t exactly small when it comes to embroidery. At this step, the specific work that needs to be done is developed and agreed upon. If, for example, the artwork has white spaces, there may be a discussion about whether to use white threads or not. The correct style for digitizing the artwork will be chosen at this stage as well as the right types of stitches for a given design.
Embroidery Digitizing, Step Two: Your Logo Needs Work
If you have a company logo, it was probably designed, first and foremost, to look its best in one-dimensional printing jobs such as letterhead, flyers, and signs. For embroidery to look great, your artwork needs to be prepared. Small details may need to be changed on your logo or artwork so that the embroidery can be optimized. Examples of smaller details that may be altered include eliminating or making small text larger or moving text — or even removing an outline here or there. Your embroidery company will use graphics software to make these small, but crucial, changes.
Embroidery Digitizing, Step Three: Avoid Bad Results
Now that your artwork has been prepared, a template for the embroidery must be made. What’s the template? It’s a digital file that contains various types of stitches and the digitizer with whom you work with will need to decide the ways in which the pathing, or sequence of stitches, in your artwork will run.
Good pathing is crucial to the embroidery digitizing process. How the pathing is done impacts how your final embroidery will rest on the apparel or item. Have you ever seen an embroidered hat that just doesn’t look quite right? You can blame pathing for that.
When the wrong sequence is applied, garments can end up with text that is ajar and designs with gaps. Beyond just how the embroidery looks, pathing impacts how long the embroidery machine will run (shorter times translate to stronger designs and lower costs).
Embroidery Digitizing, Step Four: Every Stitch Counts
In embroidery, there is no one-size-fits-all stitch for every design. The digitizer will now select the various types of stitches to optimize the different sections of your design (and, believe it or not, even a small design/logo can require a number of different stitches).
The digitizer will need to add what is called ‘underlay’ stitches. Underlay stitches can’t actually be seen in the finished embroidery, however, it is essential that your design includes this type of stitch. Why? Underlay, in embroidery, connects the fabric to the backing while providing the next set of stitches with a stable surface on which to embroider and add additional design flourishes that really make your design stand out. In this process, the correct underlay needs to be chosen. If it’s done poorly, the fabric of the shirt or hat could end up showing through the design and ruining the look of your finished product.
Fleece and denim are very different types of fabrics — and require drastically different types of stitches. Your digitizer will need to select from the types of stitches and the variations within each type of stitch — where the stitches begin and end, when the direction of stitches needs to be changed, and small adjustments that may prove necessary.
Embroidery Digitizing, Step Five: Ensuring Quality
Embroidery is a process of what is known as ‘push and pull’. As your logo/artwork is embroidered, stitches do, inevitably, shift. As the stitches shift, the end result could get skewed. The digitizer needs to understand where push-and-pull issues may occur and ensure the proper process is adhered to.
No matter how experienced your digitizer may be, logos or artwork that include small details and various coloring and small letters will need a greater amount of set-up time than more simple logos and artwork. Much of how your finished design looks is truly going to be in the hands of the business and the team with whom you work. Because the process of digitizing is a skill that requires experience, artistry, technical know-how and a keen eye for detail, be sure to choose a quality embroiderer such as Logo Depot (we’re here in Wichita serving both local and national customers).